Drive (Synology Drive)

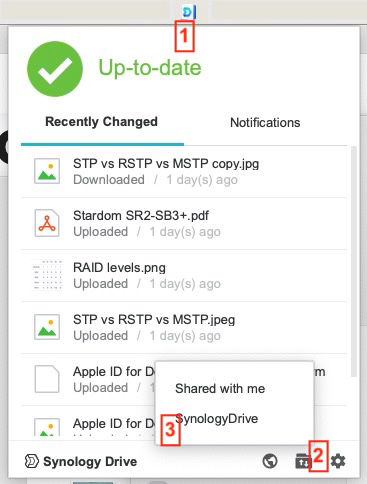
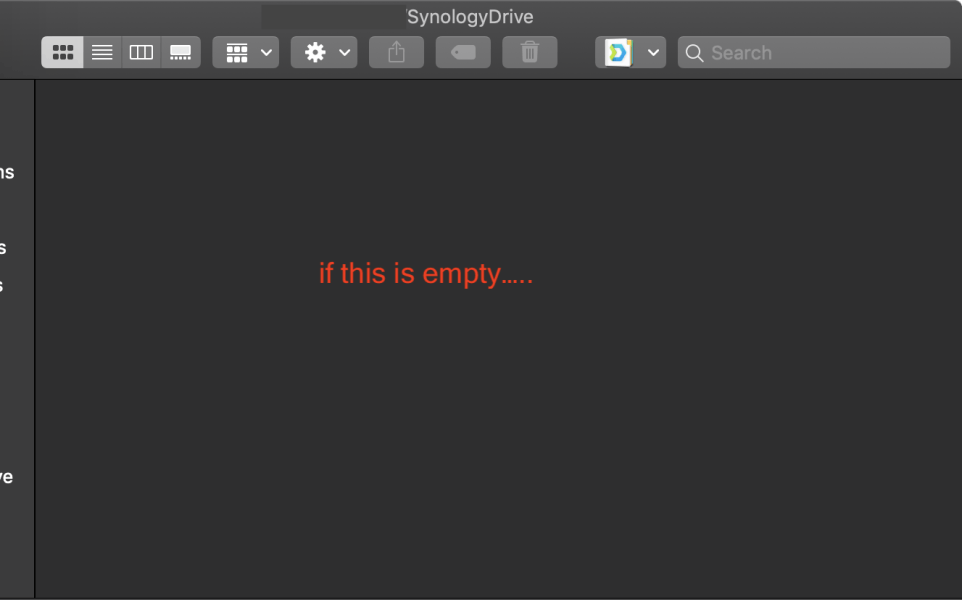
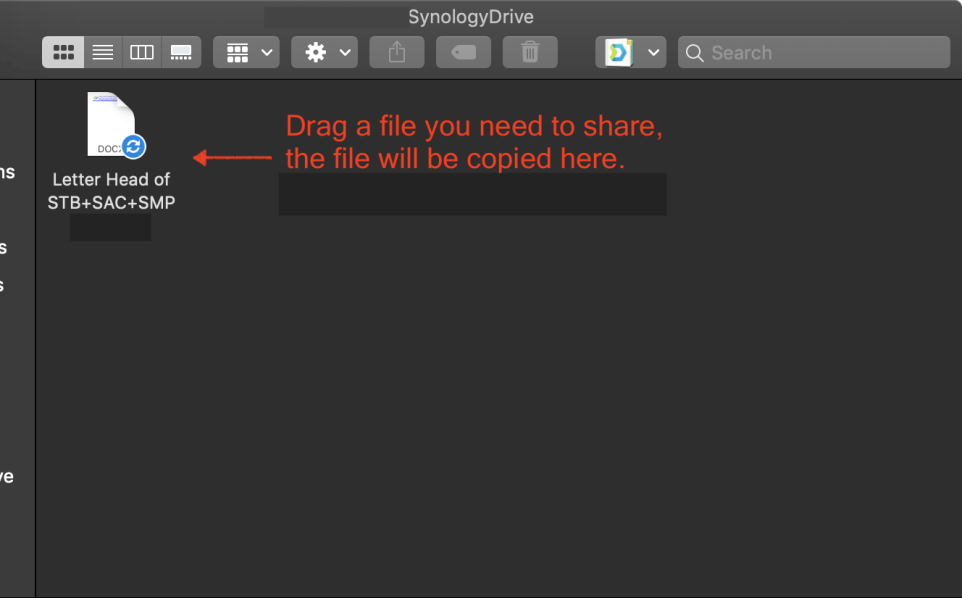
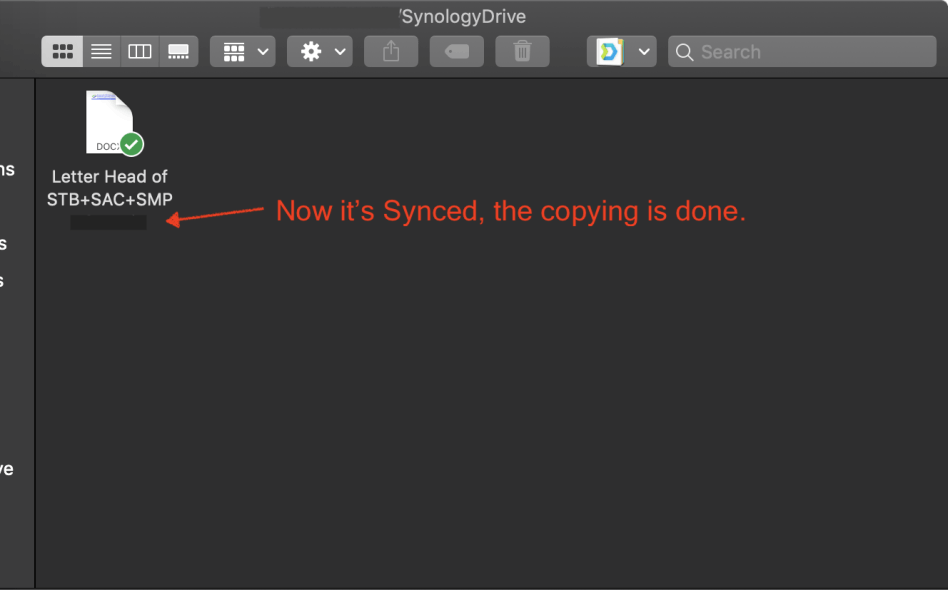
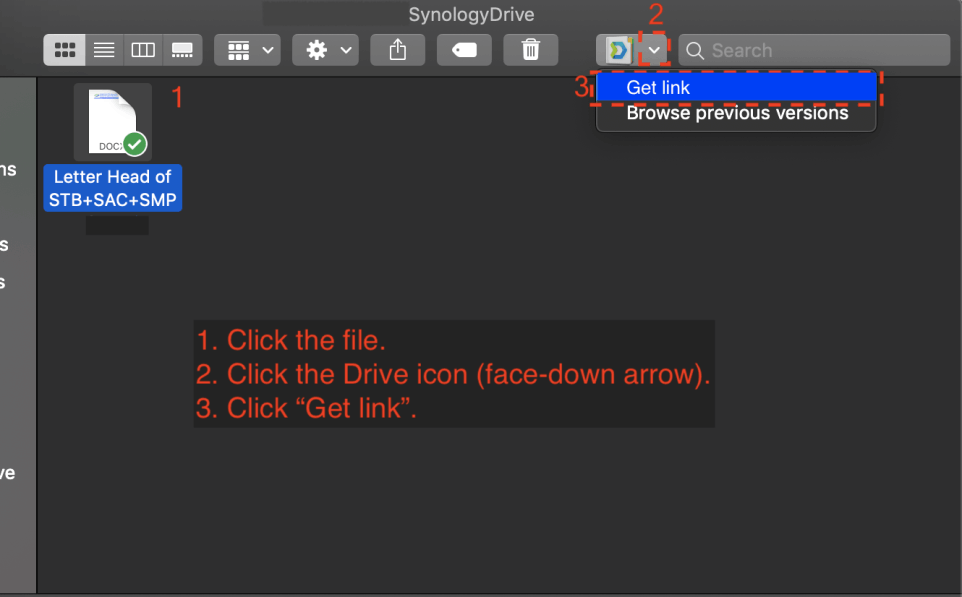
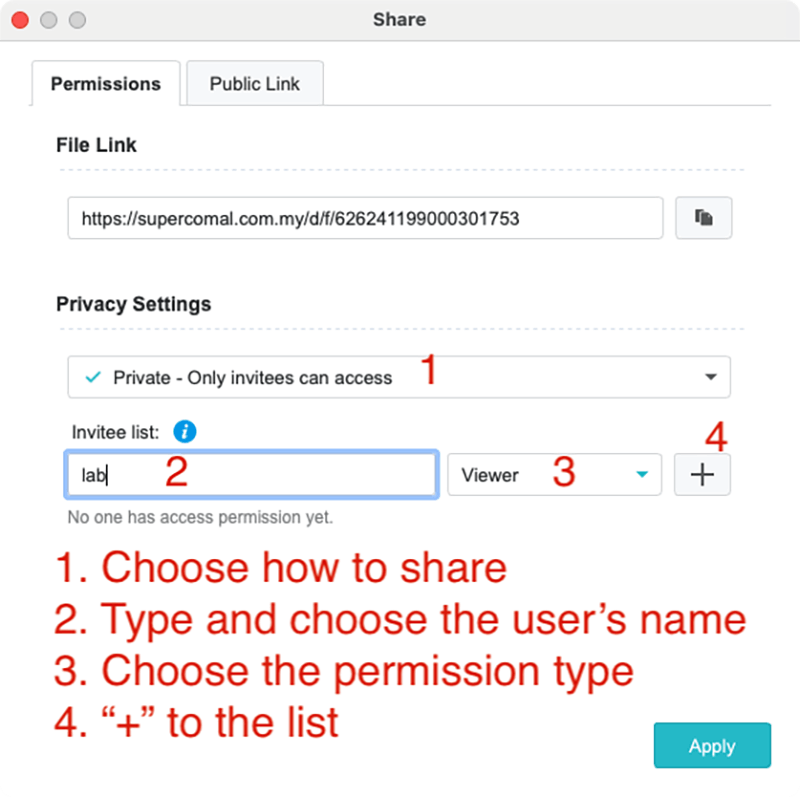
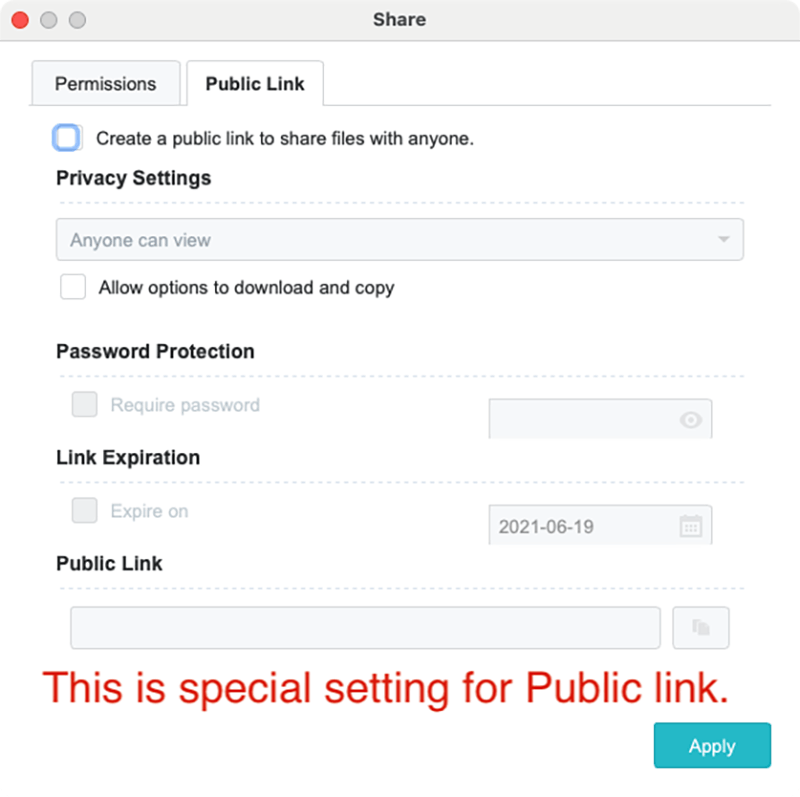
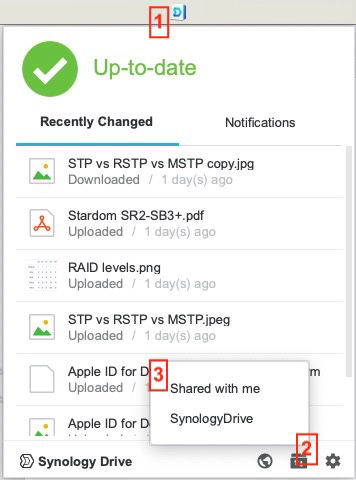
The Synology Drive allows users/departments to share and to be shared documents/files and is able to edit the files without download it.  Users will be logged in automatically.
In case of any accidentally events, Lab will not help users/departments to move/copy files to others.

Basic Instruction

Step 1 - To Share the File

1. The icon of Synology Drive will appear on the right top corner of your screen.
2. Click the symbol D on the top.
3. Click the folder with arrows.
4. Click the "Synology Drive".

Mobirise

Step 2 - The Folder

This is the folder to share with others.

Mobirise

Step 3 - Synchronizing

Drag or copy a file or a folder to SynologyDrive folder to share. The blue arch arrows icon means it's synchronizing with Server.

Step 4 - Synced

Once the synchronizing is done, the icon changes to green tick.

Step 5 - To Share

1. Click/choose the file (or folder) that you want to share.
2. Click the down arrow next to Drive icon.
3. Click Get link.
4. If you click "Browse previous versions", it can save up to 10 versions of your editing.

Step 6 - Set Permission

1. In Privacy Settings, normally just choose Private.
2. Type/Choose the user you want to share.
3. Choose the permission, Viewer only or Editor.
4. Click "+" to add the user to share.
5. Repeat 2~4 to add more users to share.

Step 7 - Public Share

The "Public Link" Share is if you want to share the file to all users at Supercomnet Group.

Step 8 - Shared with Me

If someone has shared a file or a folder to you, you can see it in "Shared with me" folder.
1. Click the Drive icon on the top.
2. Click the folder with arrows.
3. Click "Shared with me".

@Designed by Mimi, Computer Lab

Design a free web page with Mobirise